

Create a table of contents,
sections, and sub-sections
Updated 3 months ago
Automatically generate and maintain content pages, section dividers, and subsection trackers with the Table of Contents. Follow the steps below to insert a Table of Contents, structure your presentation with sections and subsections, and manage them using the Explorer pane.
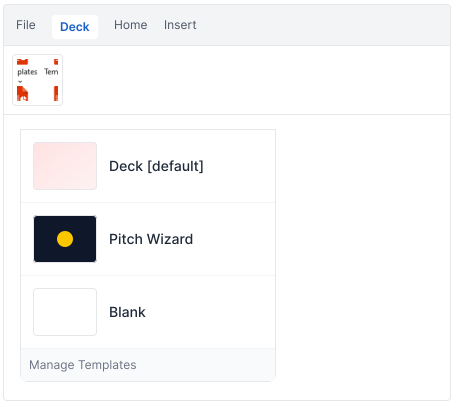
Important — Before inserting a Table of Contents, sections, or subsections, ensure you are using a supported Deck template. These features are available only in compatible templates. If you use a blank presentation or an unsupported template, Deck will display an error message.
Insert a Table of Contents
Go to Insert on the Deck tab and select Insert > Table of Contents from the drop-down.
- A new slide is inserted after the currently selected slide, listing all sections, subsections, slide titles, or indexes — depending on your template configuration.
- If the Table of Contents is too long, it will automatically split into additional slides or a two-column contents page.
- A presentation can contain only one Table of Contents. If one has already been inserted, selecting Insert Table of Contents opens the existing content page instead of creating a new one.
Organize your content into sections and subsections
Divide a presentation into sections
Deck uses divider slides to separate sections in your presentation. Section dividers are automatically formatted using your company template, and the Table of Contents updates automatically as sections are added or edited.
To add a section divider:
- 1. Click between slides in the thumbnail pane at the point where the new section should begin.
- 2. On the Deck tab, click Insert > Section within Reference group.
- 3. Type the section name in the pop-up dialog.
- 4. To add multiple sections at once, click Add Section and enter additional section names.
- 5. Click Confirm to proceed.
Additional options when naming a section:
| Option | Description |
|---|---|
|
Unnumbered section |
Creates a section without a number. May be excluded from TOC numbering depending on your template settings. |
| Appendix section | Designates the section as an appendix. May be excluded from the main TOC or displayed differently depending on template configuration. |
Tip — You can remove a section from the presentation by simply deleting its divider slide.
Insert sub-sections
Subsections provide finer organizational structure within sections. Depending on your template configuration, they may use divider slides, appear only in the Table of Contents.
To add a sub-section, follow the steps below:
- 1. Click between slides in the thumbnail pane at the point where the sub-section should begin.
- 2. On the Deck tab, click Insert > Sub-section within Reference group.
- 3. Type the sub-section name in the pop-up dialog and click Confirm to insert.
Modify Sections and Subsections
To Rename a section or sub-section:
If your template includes divider slides, update the title directly on the divider slide. The Table of Contents reflects the updated title the next time it is refreshed.
- Without divider slides, open the Explorer pane from the Utilities group, right-click the element, and select Rename.
- Open the Explorer pane, right-click the item, and select Delete.
To Delete a section or sub-section:
Restructure your presentation using Explorer
The Explorer pane provides a bird's-eye view of your entire presentation structure and supports drag-and-drop reorganization of slides and sections.
- Move a slide: drag it to the position below the target section name.
- Move a section: drag the section name itself — all slides within that section move together.
- Click Refresh in the Deck ribbon after any restructuring to update the TOC, page numbers, and all automated elements.
Refresh automated elements
After any structural change — adding, removing, renaming, or reordering sections — run a full refresh so every automated element stays in sync.
- Table of Contents
- Sections, subsections, and slide titles
- Slide numbers
- Cross- Reference
- 1. On the Deck tab, click Refresh within Reference group in the ribbon.
- 2. Wait for Deck to finish updating — a progress bar will appear for large presentations.
